• Import your files the right way.

    Import your files the right way.

  • Learn how to organise within Lightroom

    Learn how to organise within Lightroom

  • Learn how to turn this...

    Learn how to turn this...

  • ...into this...

    ...into this...

  • ...or this...

    ...or this...

  • ...or even this.

    ...or even this.

    Overview

    Once you've got the basics under control it's time to move on to the next steps.

    There's a lot of different topics to cover to bring your skills up to an intermediate level.

    We've broken that information into 3 sessions. These sessions can be done in any order. So, whichever one is scheduled next, sign up and skill up ASAP.

    Intermediate Topics - Session A

    You can learn all this and more.
    Keeping Track Of What You've Done To Each Image
    With our system of using flagging, rating and colour labelling you'll be able to keep track of where you're at with each file even during huge editing sessions.
    Develop Module from Top to Bottom
    The Develop module is the heart and soul of Lightroom Classic. While other modules have tools that very few people need or know, the Develop module is full of tools that everyone should be using regularly.
    We can show you what each tool does and when you should be making use of it.
    Creating Default Develop Settings For Your Cameras
    One of the great advantages of Lightroom Classic over other apps is its ability to make your post processing as efficient as possible. 
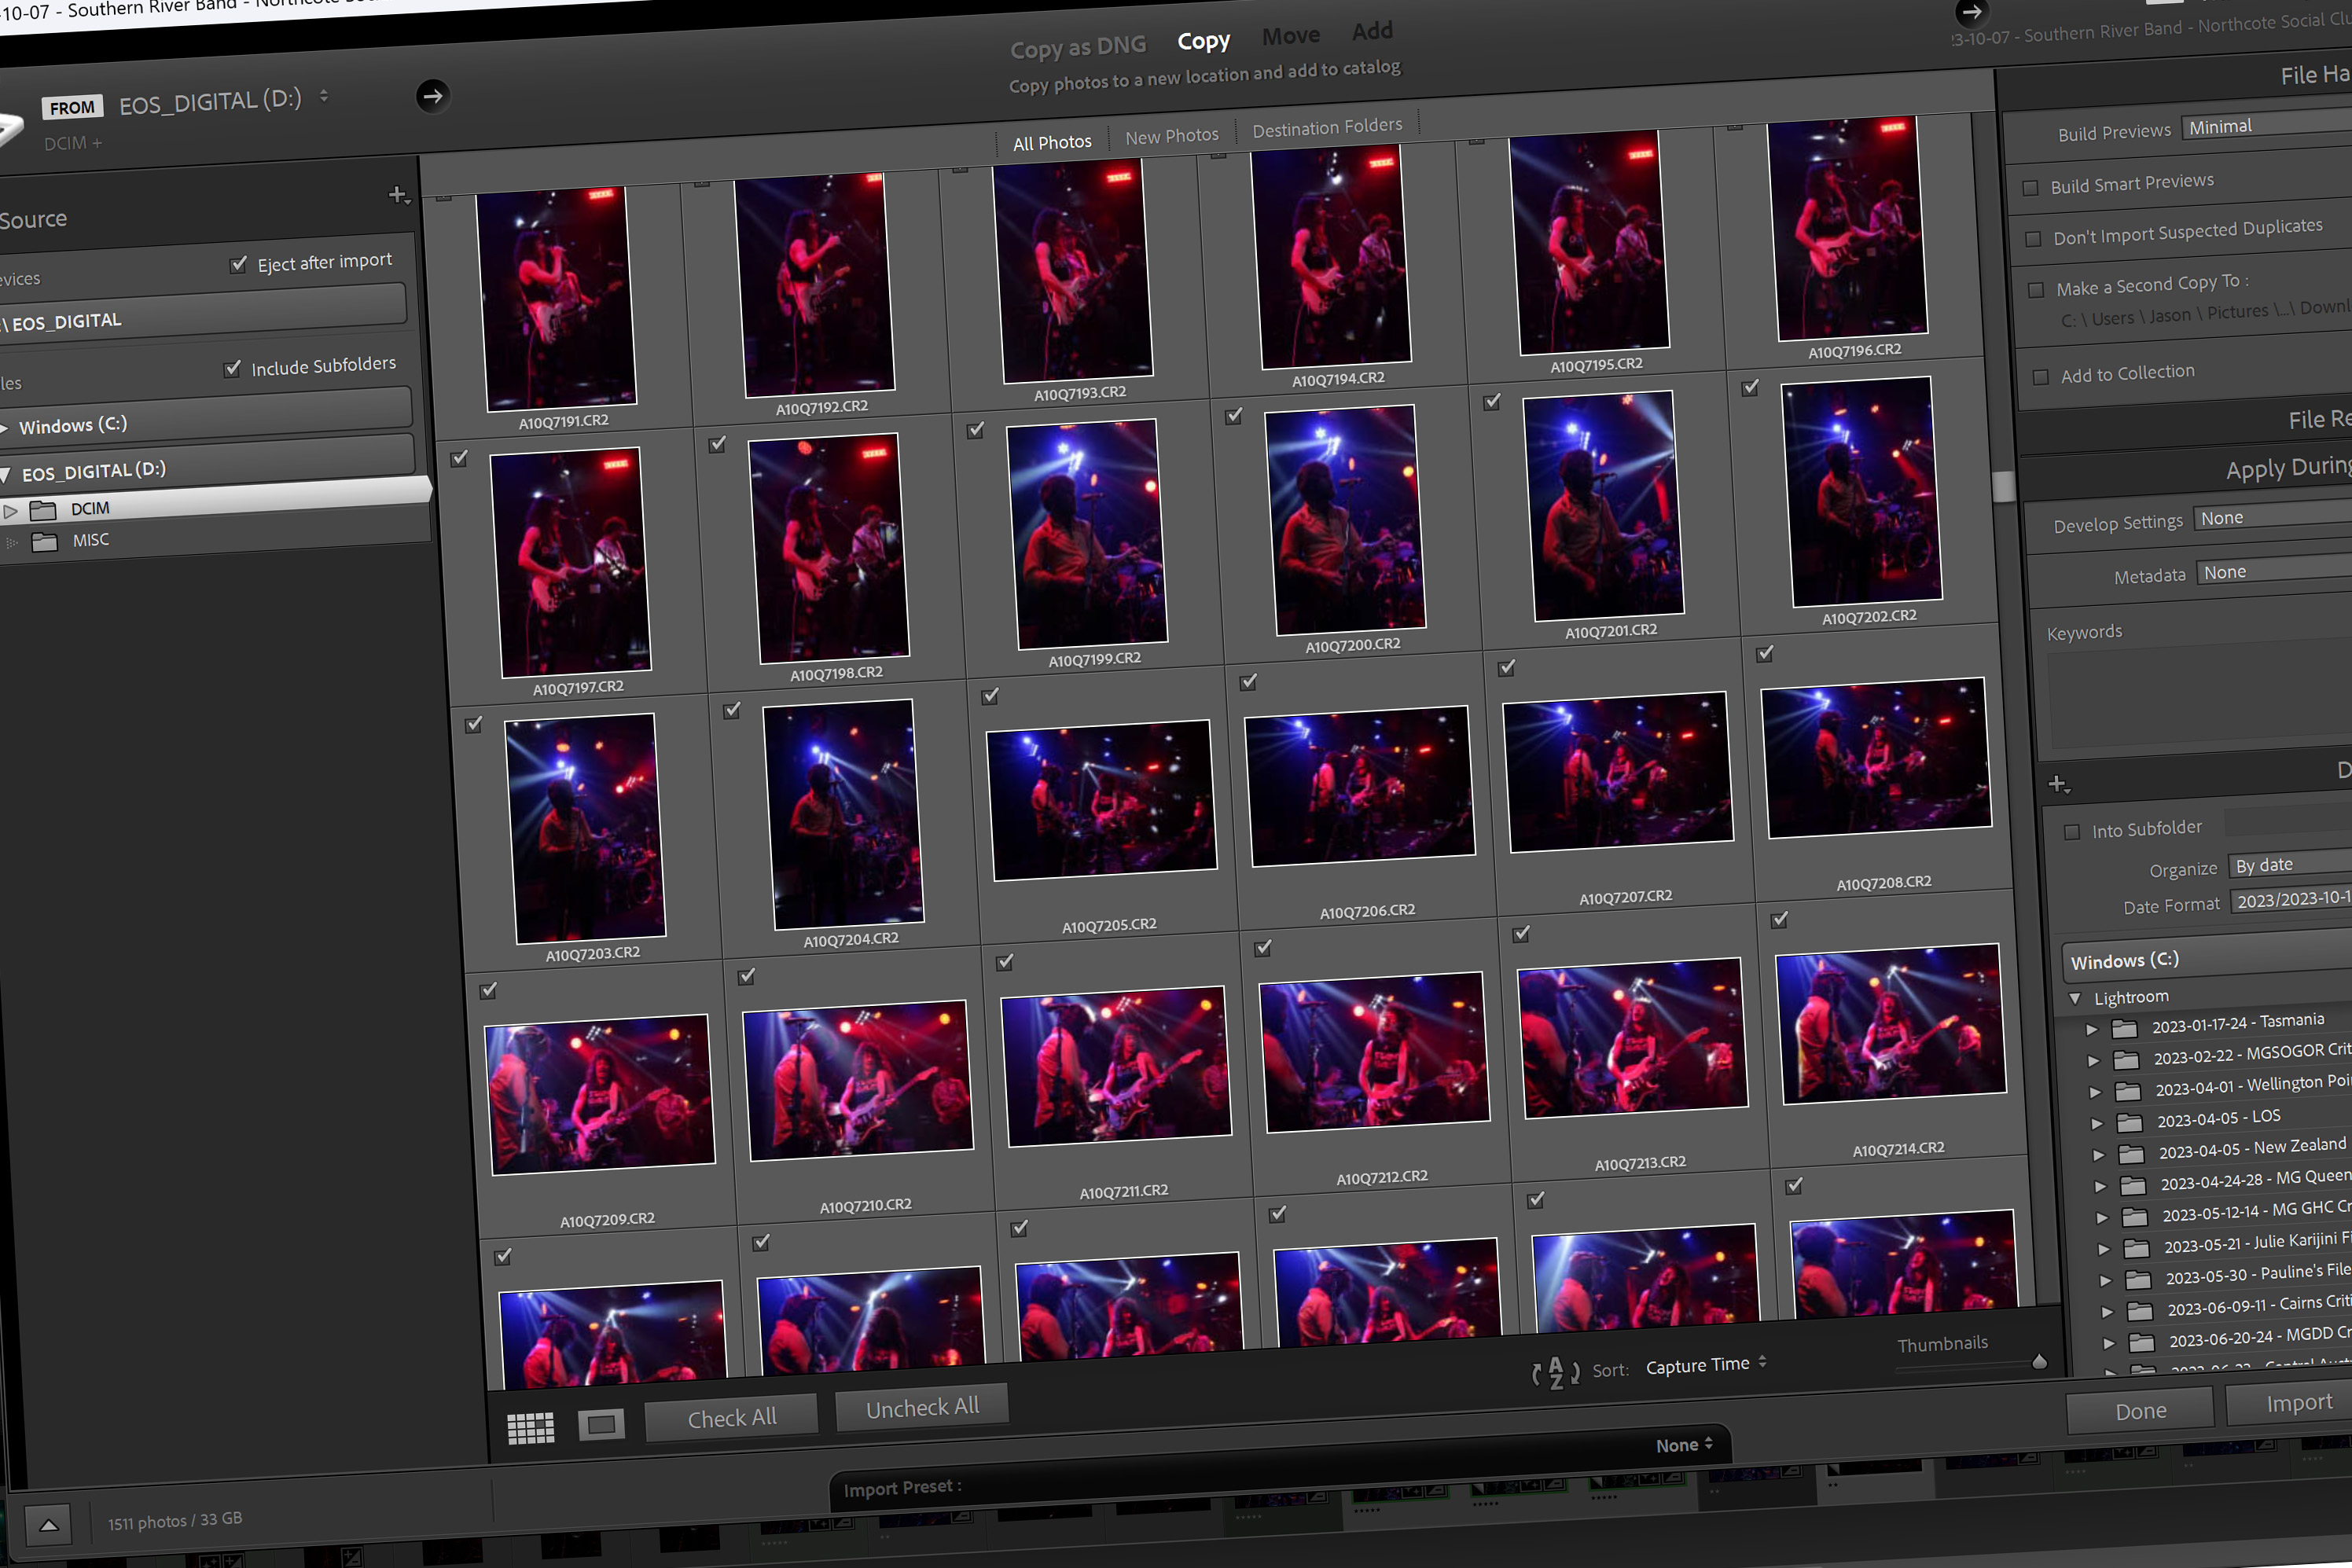
    If there are changes that you make to most, if not all, images from a particular camera then it's worth making those settings the default for all images imported from that camera.
    We can show you how to find and save the best default settings for each of your cameras (even your smartphone).
    Using The HDR Tool
    Camera dynamic range (the ability of cameras to retain details in both shadows and highlights) has increased incredibly over the last decade or so. However, the dynamic range in many scenes is still wider than many cameras can handle. The solution? Take multiple shots of the scene at different exposures and then blend them together later to mke the shot look more like what you saw when you were there.
    You can learn how to setup your camera to capture the correct range of exposures and then use Lightroom Classic to blend a final image.
    Using the Panorama Tool
    Even if you shoot with an ultrawide angle lens every so often a scene presents itself where you cant quite get everything that you want to capture into the frame.
    What do you do? Take two or more shots with some overlap and then use the Panorama tool in Lightroom Classic to join the shots together.
    We can show you how to get the best out of the Panorama tool by using the best camera settings to create the highest quality final image.

    Intermediate Topics - Session B

    You can learn all this and more.
    Selecting and Calibrating A Monitor
    From choosing the right monitor (Eizo, Asus ProArt or BenQ PhotoVue or the best of the budget gear) to selecting and using calibration tools such as a Calibrite (Display SL, Display Pro HL or a Display Plus HL) or a DataColor (Spyder X Pro, X2 Ultra or X2 Elite) we can help you nagivate the complex world of serious colour display.
    Further Organisation Skills
    You'll be a master of organisation after we've let you know the tricks of Collections, Smart Collections, filters, advanced metadata and more.
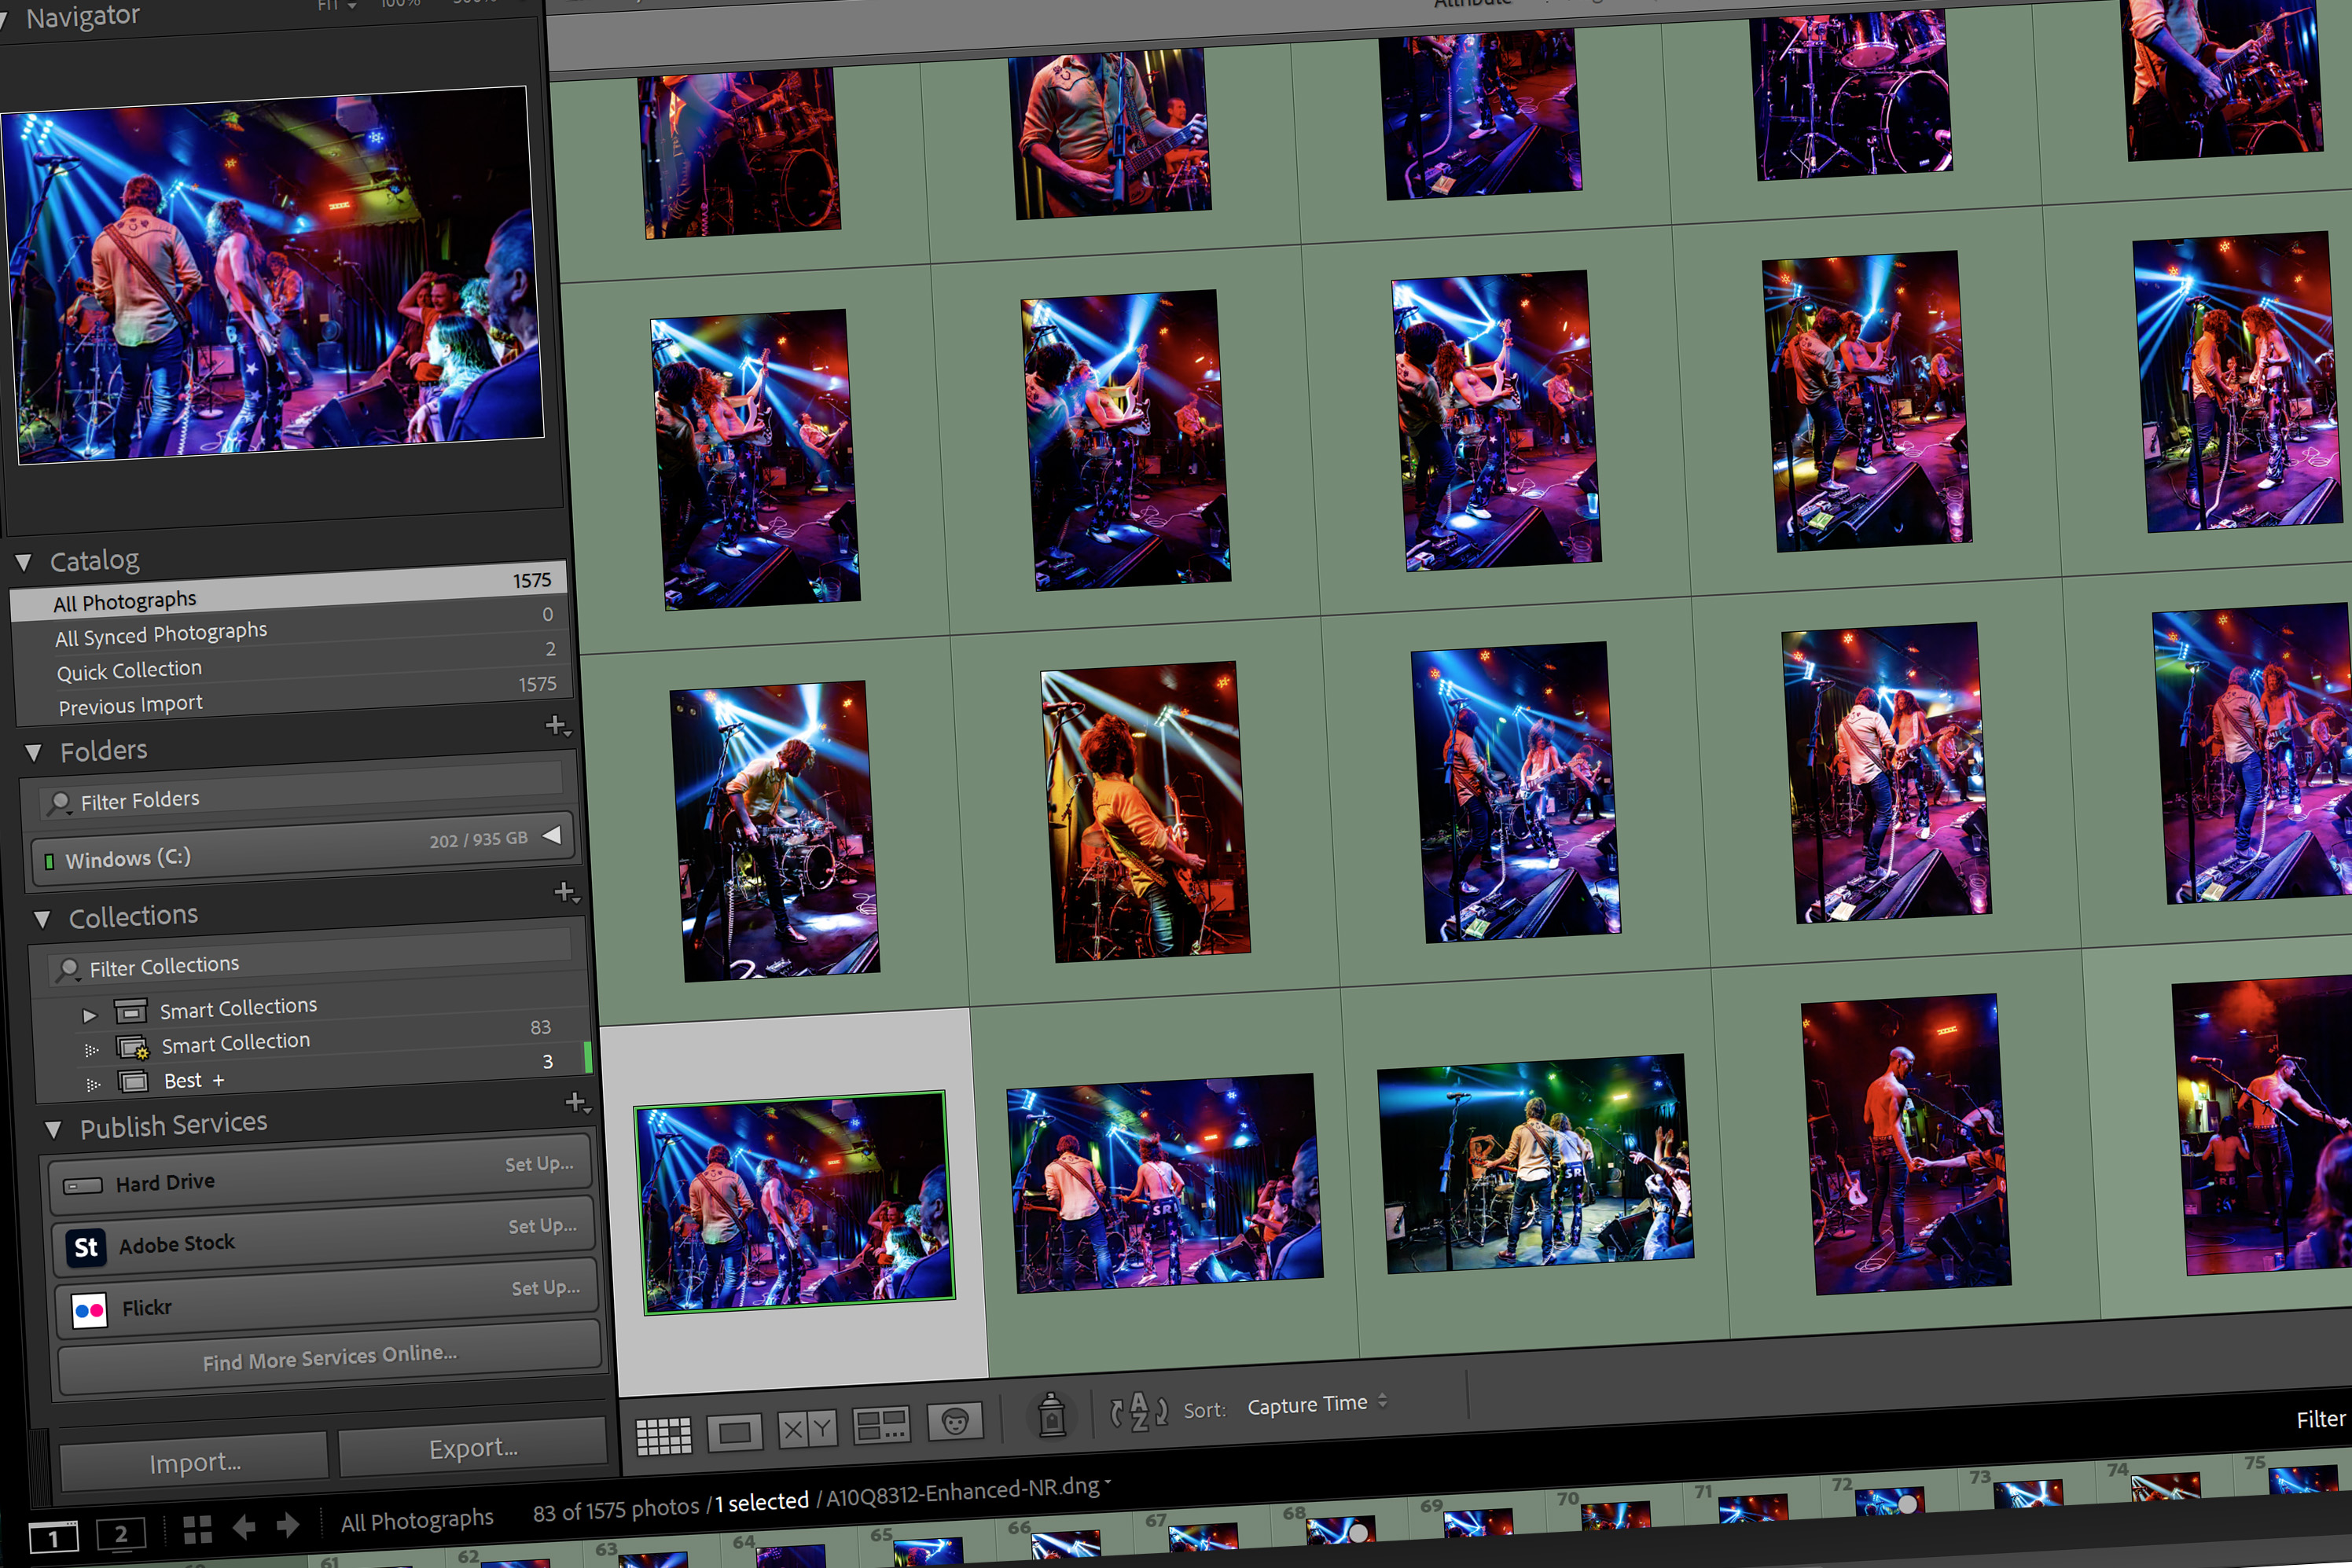
    It's not the fun bit of Lightroom Classic but it's well worth mastering if you want to be able to find any of your images in a flash.
    Expertly Editing Exposure
    Beyond the Basic panel. Many geat tools have been added to Lightroom Classic over the years. Some get more use than others but they all have their place in your repertoire. From Tone Curve to Calibration, from Profile to Color Mixer these tools affect the colour but they can also affect the exposure of parts of your image. 
    You can get across the basics of Lighroom Classic exposure in minutes but we can help you master all the controls that will affect exposure either globally or locally.
    Complete Colour Control
    With knowlege of tools such as Profile, Calibration, Tone Curve (both parametric and point) and the new Point Colour you'll have complete control of exact colour of every pixel.
    Perfecting Skin Tones
    You can achieve perfect skin tone in your portrait, beauty and fashion shots. By understanding what makes great skin tone and then knowing how to acheive it with the right selection of tools you'll have perfect skin tone in no time.
    Better Black and White
    Move beyond the basics of monochrome in Lightroom Classic. There's a lot of subtle tricks to add to your skillset.
    From tools in Lightroom Classic such as Profile and B & W to external plugins such as DXO Silver Efex Pro (part of the Nik Collection) you can gain complete control over your black and white images.
    Duotones Via The Color Grading Tool
    The Color Grading tool is fantastic for giving colour images a specific "look" but it's also fantastic for creating a mock duotone or tritone style image. Duotone and tritone images can be done very subtly, where at first glance the shot still looks black and white, or they can be done with rich, saturated colours to make a more visually striking image.
    Mastering Masking
    The new masking tools in Lightroom Classic are incredibly powerful as well as so much faster than previous masking tools in Lightroom. However, that power and speed has come at the price of simplicity.
    With earlier versions the masking tools were very simple and there was only a few tricks for really mixing the tools together.
    Not so anymore. If you want the best out of your images quickly you'll need to skill up on masking.

    Intermediate Topics - Session C

    You can learn all this and more.
    Hidden Gems of the Develop Module
    Most tools in the Develop module do exactly what you might think they'd do. However, there's a few techniqies that involve a combination of two or more of these settings that are not obvious and may even be counterintuitive.
    We've found these gems along the way and they've helped us with our post processing, now you can use them too.
    Knowing What To Do In Photoshop
    Lightroom Classic has a huge range of tools and techniques but it can't do everything. There are a number of techniques that are either much faster and/or better in Photoshop or only able to be done by Photoshop. 
    For the best workflow you'll need to know what to do in Lightroom Classic and what to do in Photoshop. We'll show you when and how to move files between the two apps.
    Creating Custom AI Presets
    Want to speed up your post production? Especially of your portraits and fashion shots. Lightroom Classic's new AI masking for people makes it easy to perfect one shot then copy that work effortlessly to the rest of your shots in that light.
    Exporting for Print
    If you send your images out to a professional print lab and want the best possible results then you have to know how to properly prepare your files for print.
    Multi Format Exporting
    The Export dialog has grown over the years from a very basic, and mostly self explanatory, part of Lightroom Classic to a complex screen with some not too obvious quirks.
    You can learn to set up the Export dialog to suit your workflow and for the greatest efficiency.
    Printing from Lightroom Classic
    Would you like to print directly from Lightroom Classic to your own printer? You can find out everything that you need to know to guarantee the best possible results.
    Backing Up Your Data
    If you have all of your files in one catalog then there may be hundreds, or even thousands, of hours of work that has gone into post processing your images. You wouldn't want to lose all of that work just because of a simple software or hardware issue. 
    Even if you create a new catalog for each shoot there's still a lot of work that could be lost if the worst happens.
    You can learn best practice techniques for making your backup reigime reliable yet simple.

    Improve your post processing skills today!

    If you have a serious camera and you're shooting in raw mode (and you should be!) the pictures can look quite flat and unexciting when you first look at them.

    It takes knowledge and work to release the magic that you've captured in a file. Without the right skills in a package such as Lightroom Classic you'll never see your photos at their best. Even if you prefer a more "natural" look to your images than some other artists, there's still work to be done. You might be surprised how much work your favourite photographers put into making their shots look untouched.

    Don't let those incredible moments that you've already captured languish around on your hard drive or float around aimlessly in the cloud, learn now how to take them from flat to wow!

    Training - Post Processing

    Let us show you how to get the best out of your photos.

    Upcoming Intermediate Sessions

    These are the upcoming dates for Lightroom Classic training in a group format.
    No events
    Unlock the beauty in your images

    Unlock the beauty in your images

    Learn the other half of photography. See what your pictures can be. Let them showcase the beauty that you experienced when you took them.
    Welcome Back - Summer Special

    Welcome Back - Summer Special

    25% off your third session when booked any time this summer. Just as a little "thank you" to our repeat customers take 1/4 off your next session.

    We'd love to help you buildyour photographic skills!

    With over 20 years of teaching experience we can get you producing beautiful artworks in no time.
    Our Company
    Useful Links
    Follow Us
    illume-photographic-training-logo

    Login

    Your Cart